In the
first part of this series, we discussed how to generate content-rich websites that are fully populated with data produced by the day-to-day usage of your application. Now that we've covered the initial creation of websites, let's turn our attention to the experience of your users as they navigate between the Duda website builder and your own user interface.
The first step in creating a seamless experience for your customers is to white label the editor's UI and URL, along with the URLs of the sites you build.
White labeling the editor
Before we discuss the actual process of authenticating your users into the Duda website builder, let's take a look at how we can present a branded user interface (UI) as they edit their sites. Duda is the website builder you can call your own, and one of the big reasons for that is our extensive
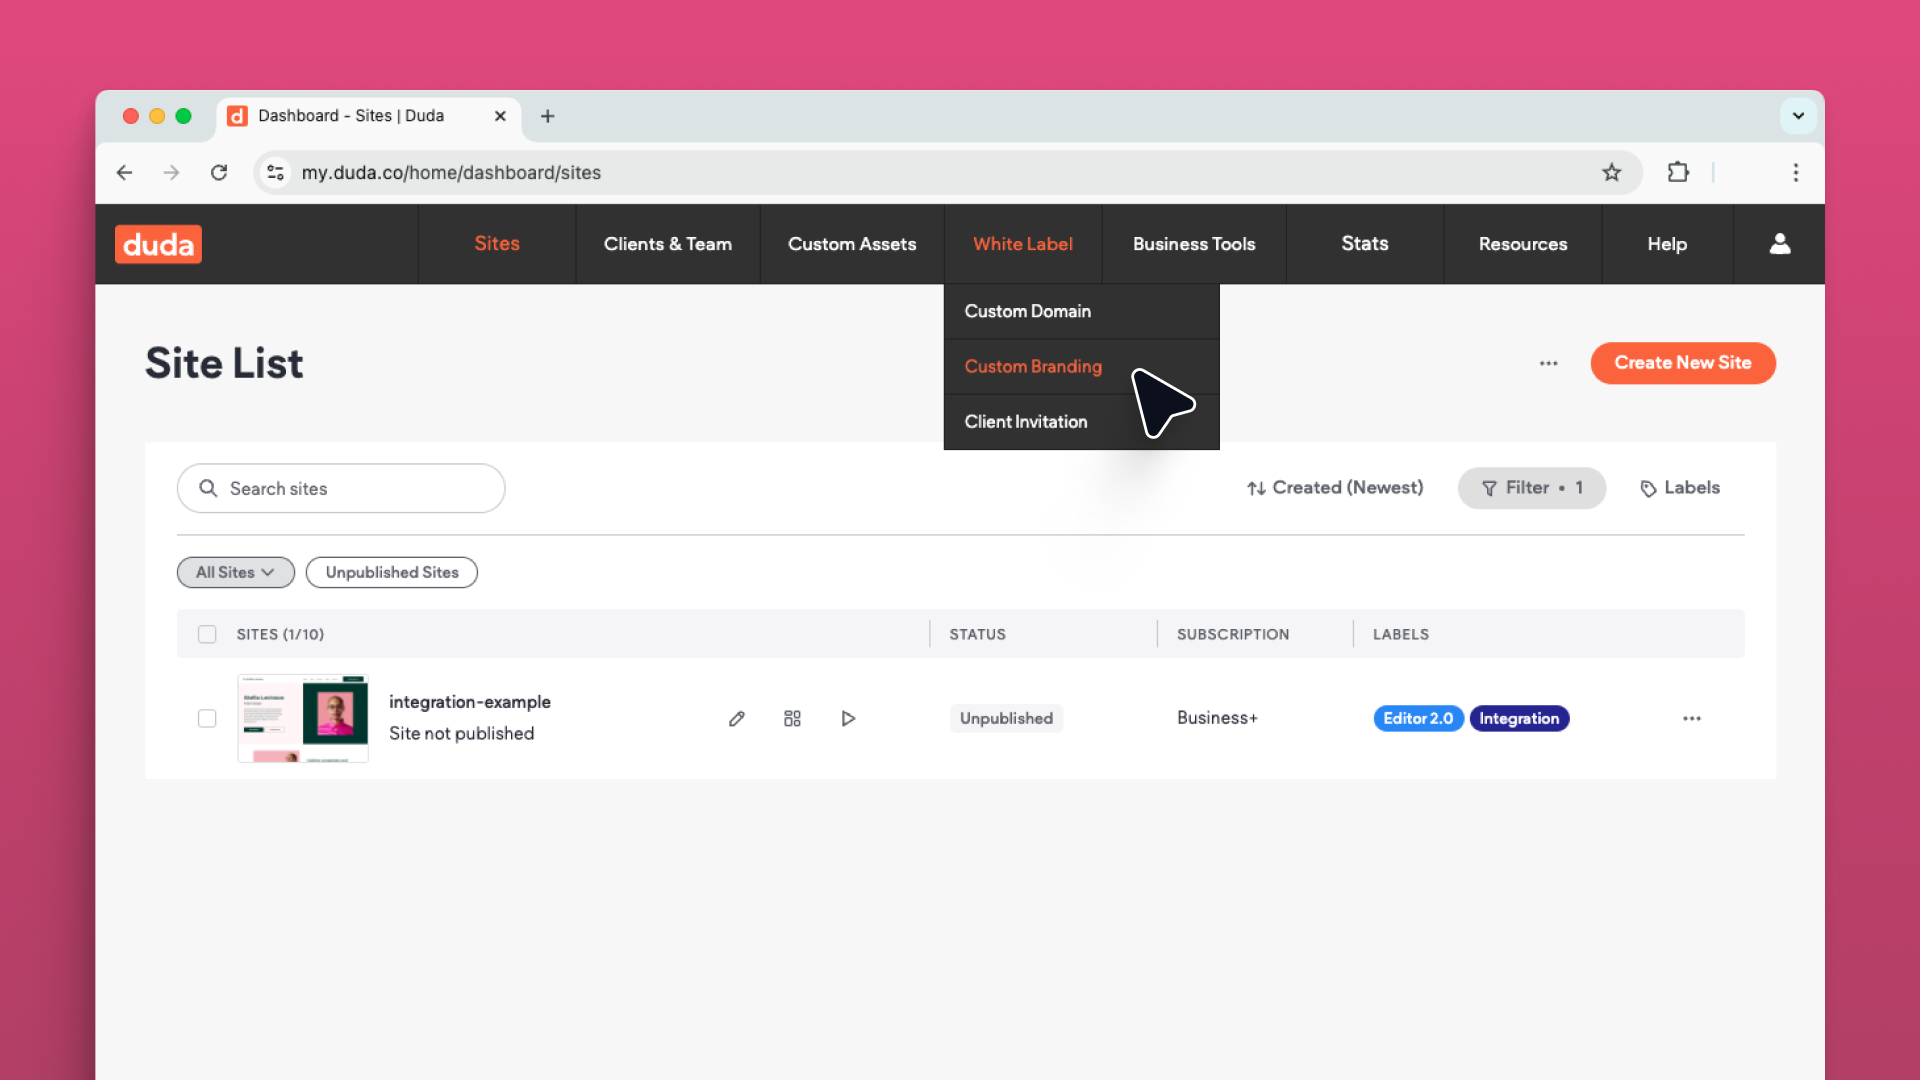
white-labeling capabilities. With the customization options available, you are able to rebrand the editor as an extension of your own product. To get started, log into your account and select “White Label” in the top menu and click “Custom Branding” in the dropdown.
When undertaking an integration between Duda and a SaaS platform, the most important white label features to configure are the ones that control how the site editor looks. While options are available for rebranding other components of Duda such as the login screen and dashboard, it's more likely than not that these aspects will be fully controlled by the source application, rather than Duda. We'll cover how we can skip the login screen and, instead, pre-authenticate the user a bit later on.
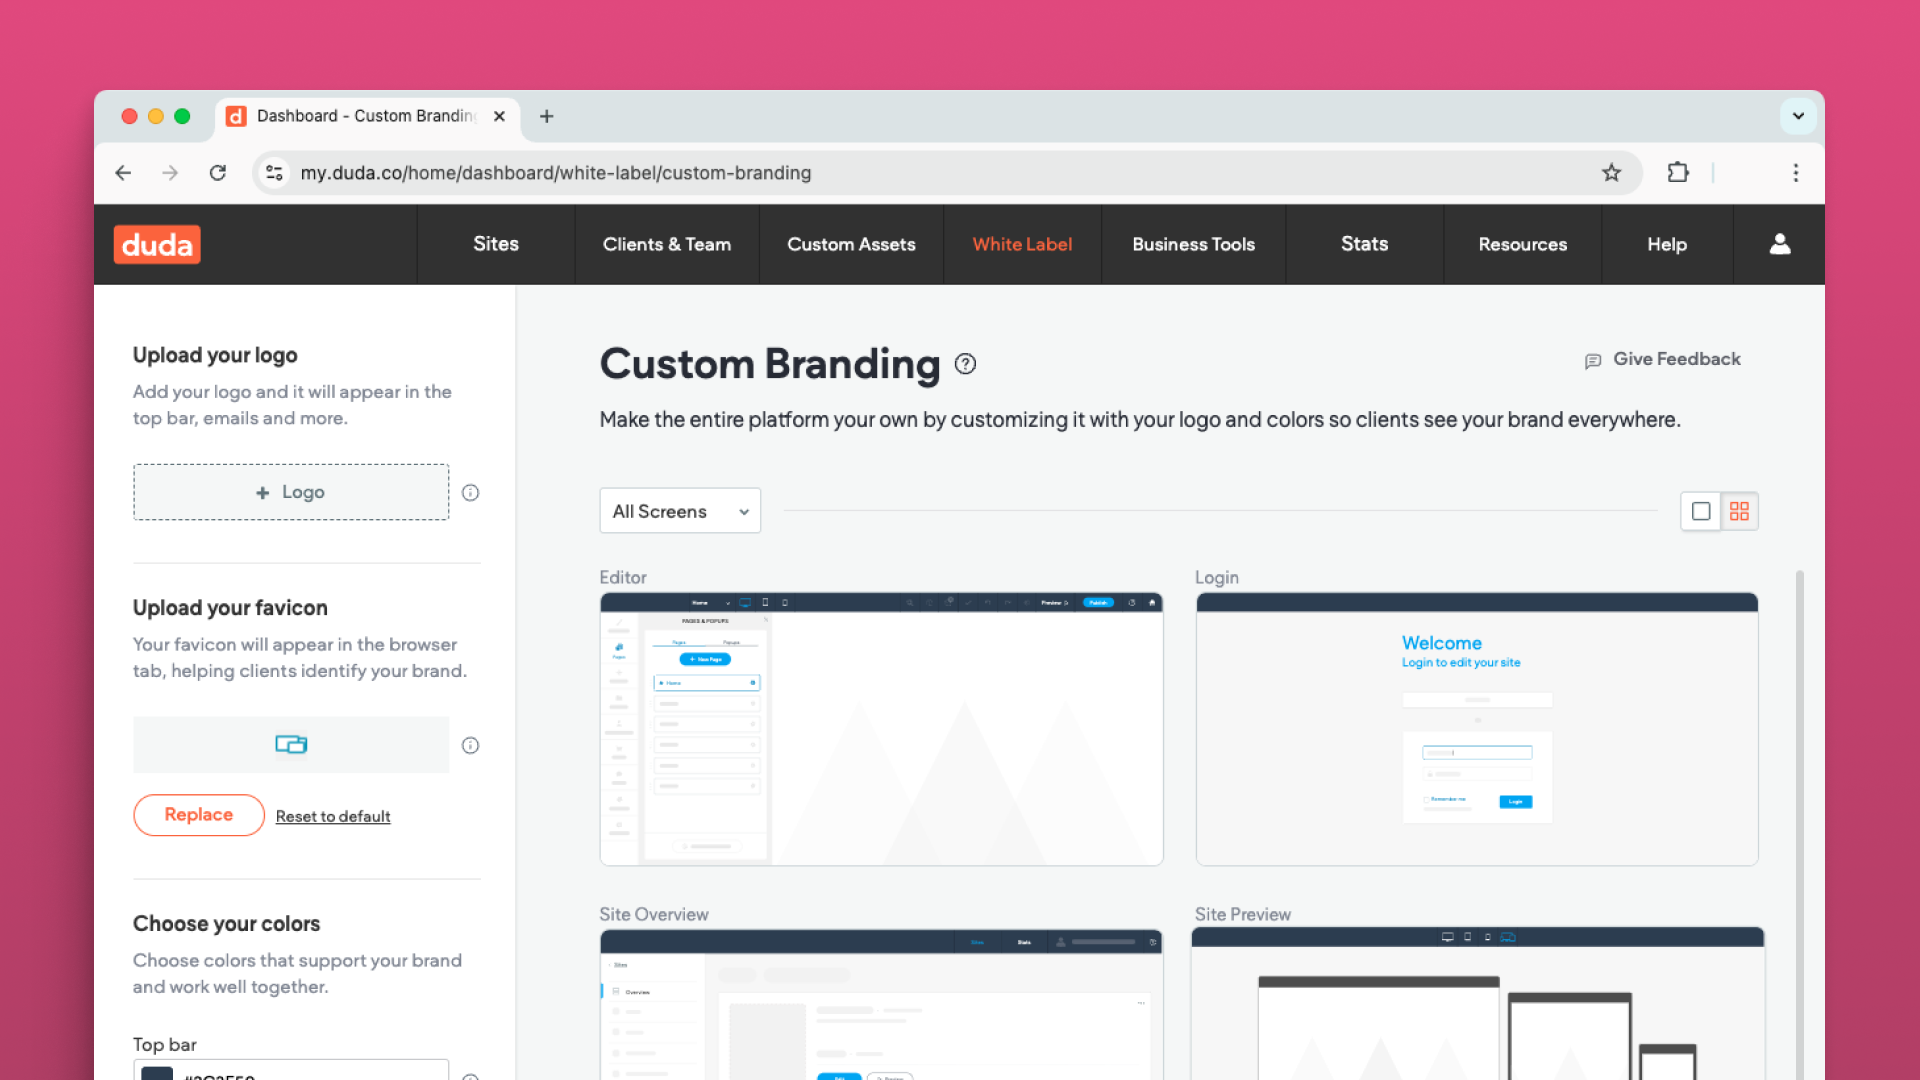
To customize the website editor’s branding, switch to the “Editor" tab within the white label page. From here, you'll be able to upload your own logo and customize the colors of text and buttons. For advanced branding work, you can also include your own custom CSS and HTML. As you save your work, you'll be able to see a preview generated of the changes.
White labeling the editor’s URL
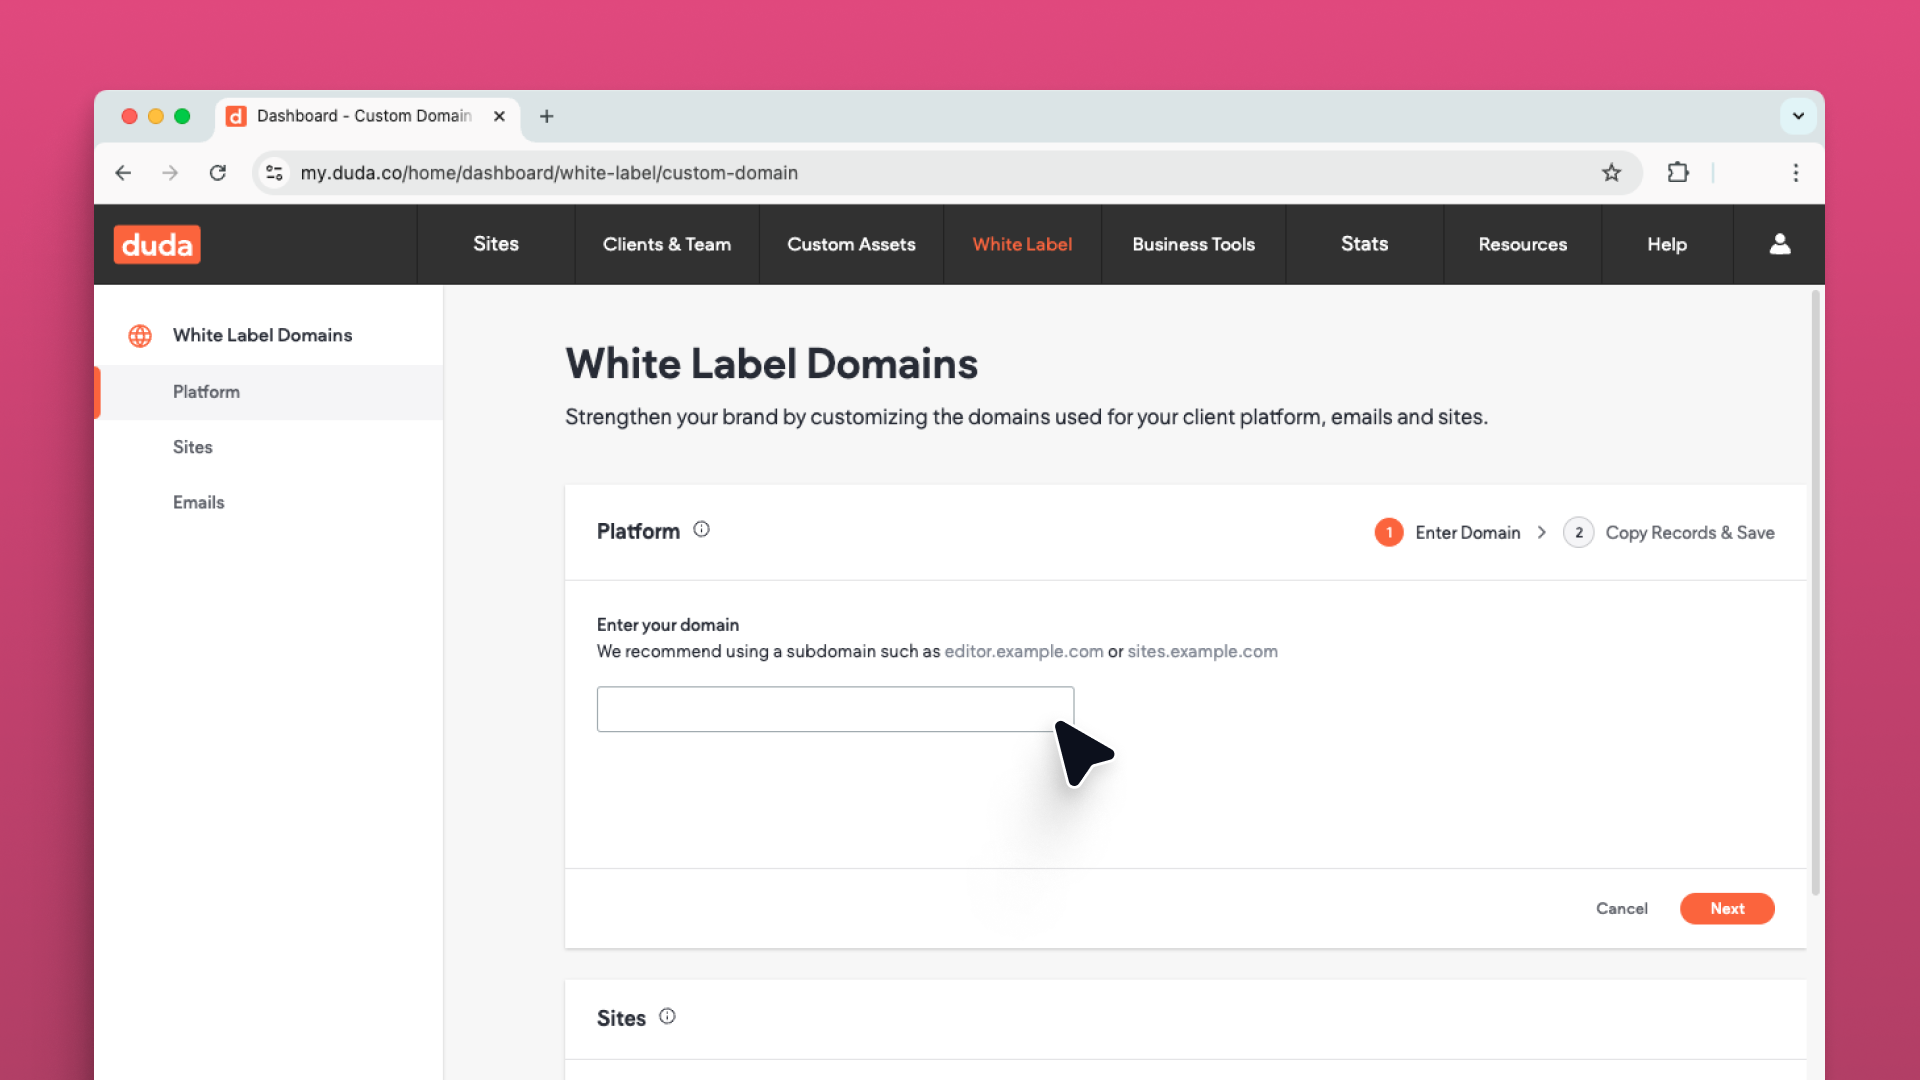
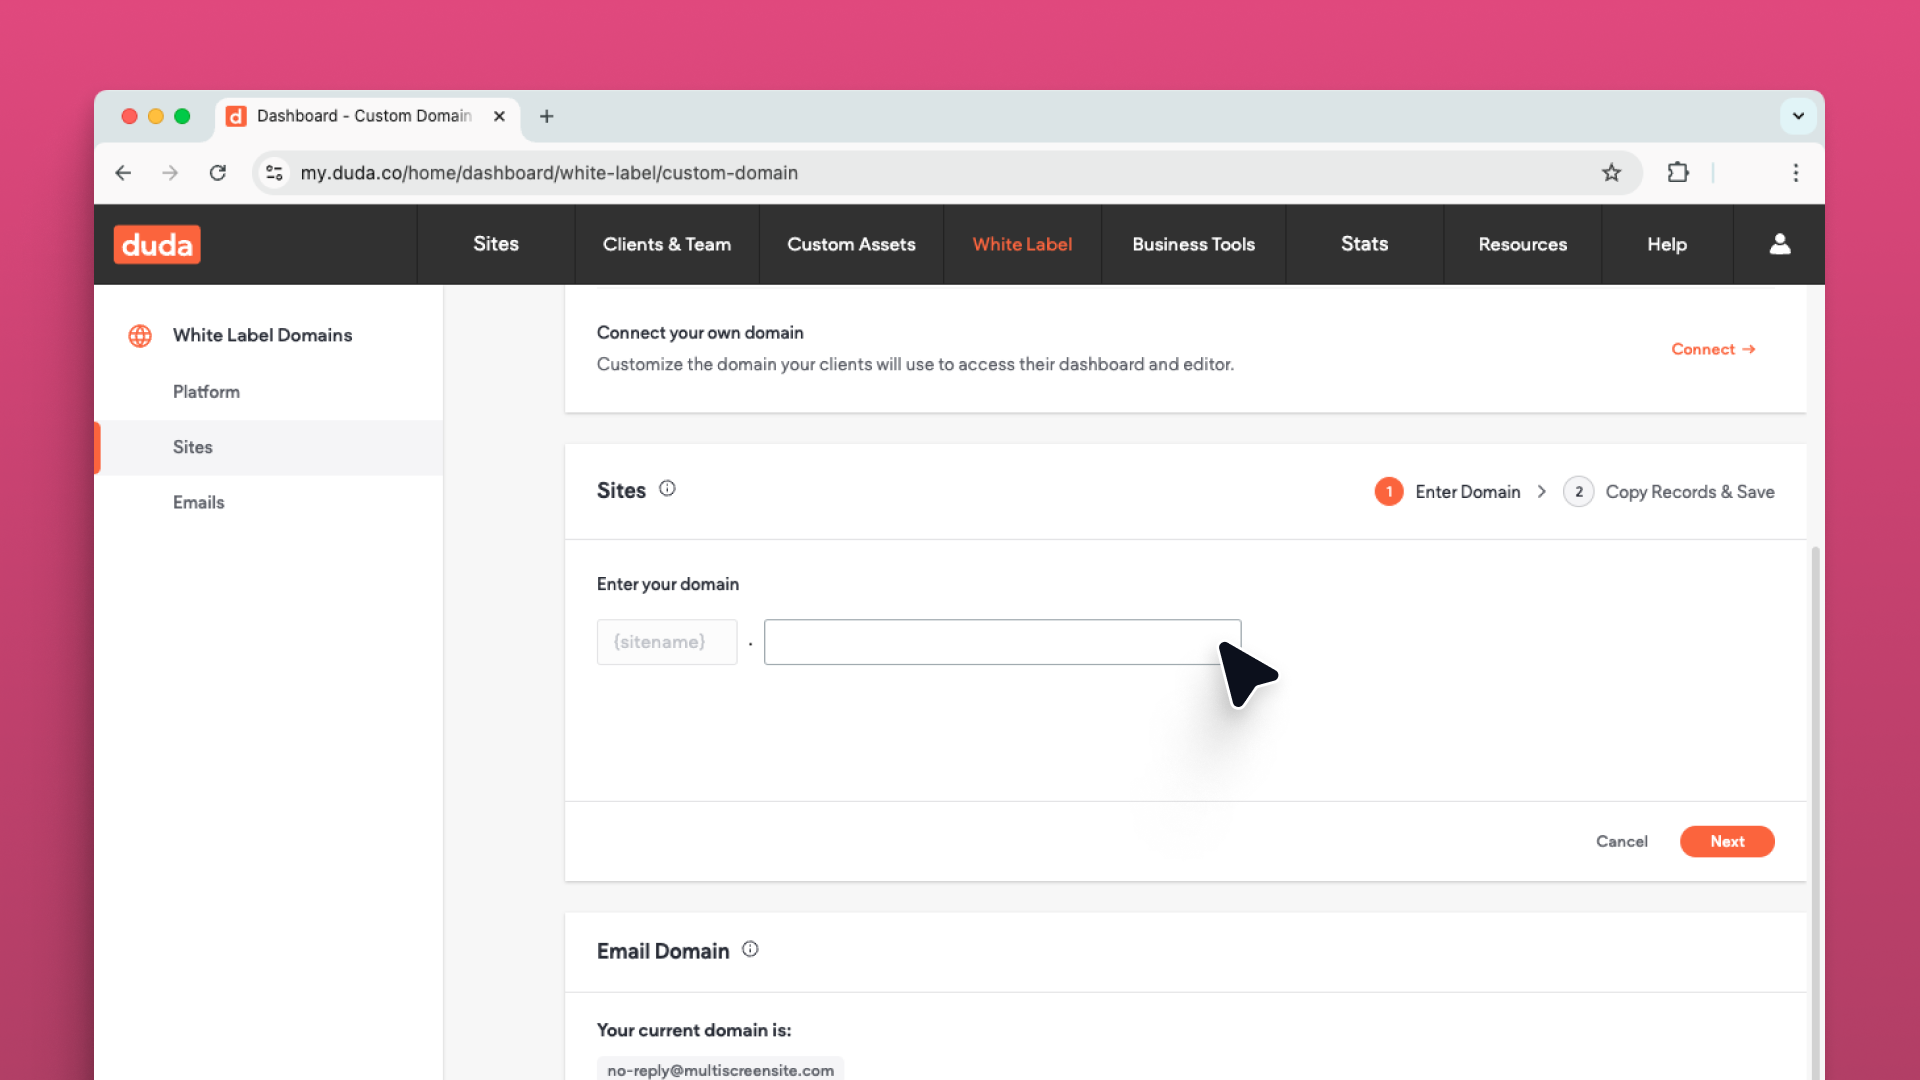
Once you have the interface branding in place, there is one important additional step; the domain name your users will see in the browser. By default the Duda site editor URL is going to be some derivative of a generic Duda domain, such as “x.responsivewebsite.com.”
It's possible to update this to something more branded such as “editor.mydomain.com” or “mydomaineditor.com” by navigating to “White Label” → “Custom Domain” and then selecting the “Dashboard Domain” tab. Keep in mind that you will need to add a CNAME entry to the DNS of whatever domain you choose. The value for this entry is provided on the custom domain page.
White labeling client sites URLs
After the actual website editing experience is branded, we need to think about the publishing experience. Taking a site live is where the entire process comes to a screeching halt for many agencies and SaaS companies. Domain names and DNS can be a complex subject for non-technical people. Many users might not have a domain, or they may have an existing site that is already using their domain. They may even have registered a domain, or had someone register it for them, and never actually set up a website for it.
Regardless of their situation, it can turn into a long process to get these users to update their DNS so it points to their newly created site. To make the publishing process as simple as possible, Duda allows any site in your account to be instantly published under a subdomain of a domain of your choosing. For example, client “1” might end up with a URL like “client1.sites.mydomain.com” or “client1.mydomainsites.com.” Setting up the site’s domain provides a frictionless way to take a site live without having to tie up the user with the intricacies of DNS and domain management.
Once a site is live, it's a perfect time to provide some light-touch support to aid the user in the transfer or registration of a domain. Duda provides
unbranded support articles to help your users through the process. In addition, the
create site and
update site API endpoints allow you to update the domain or subdomain of a site directly from your own application as well, so you can guide your users through the process from your own UI.
With all the options available, you'll be able to ensure your users can go from creation to a published site in record time.
Authenticating users into Duda
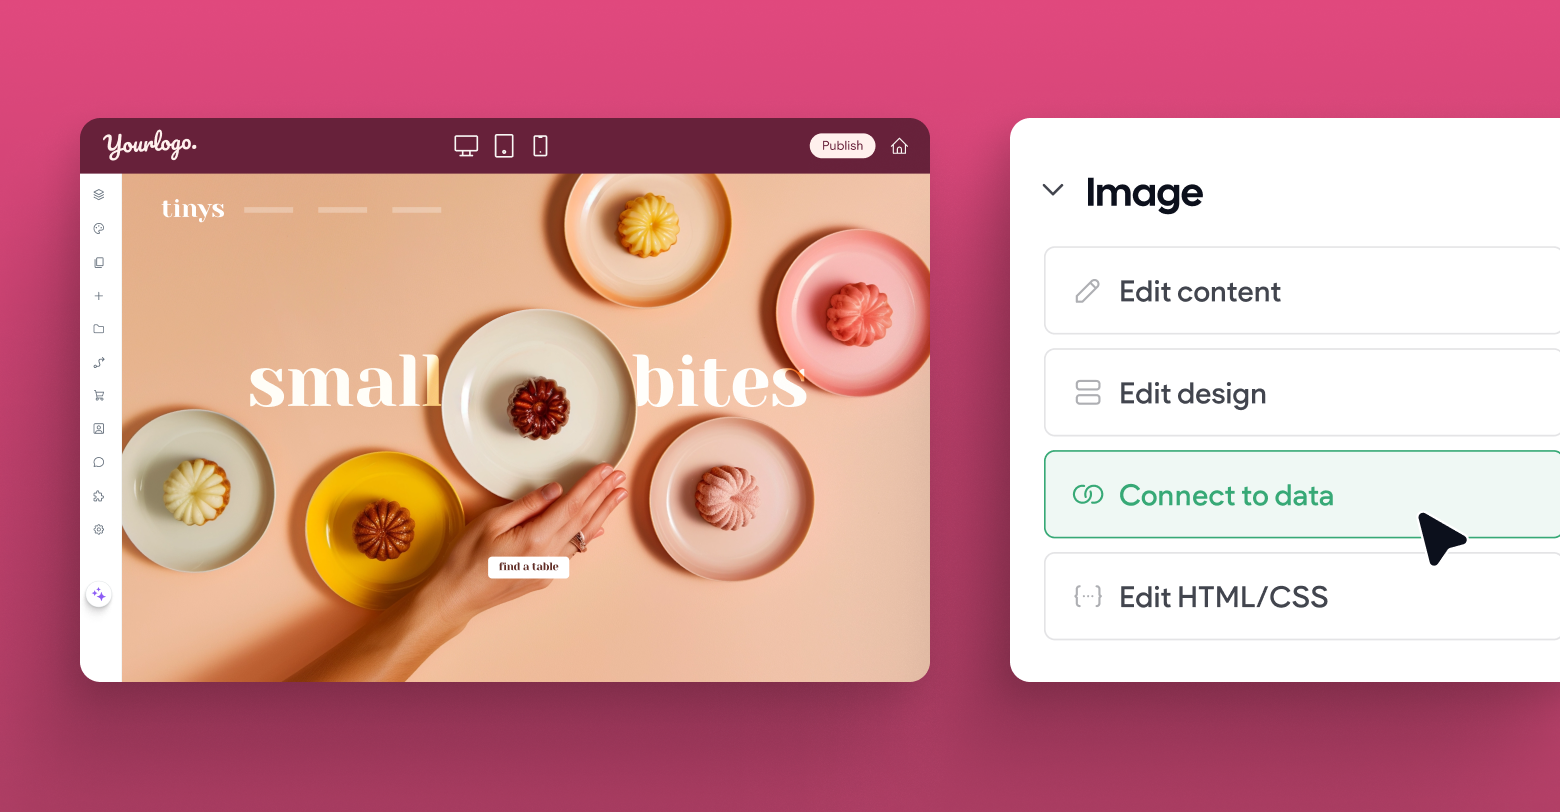
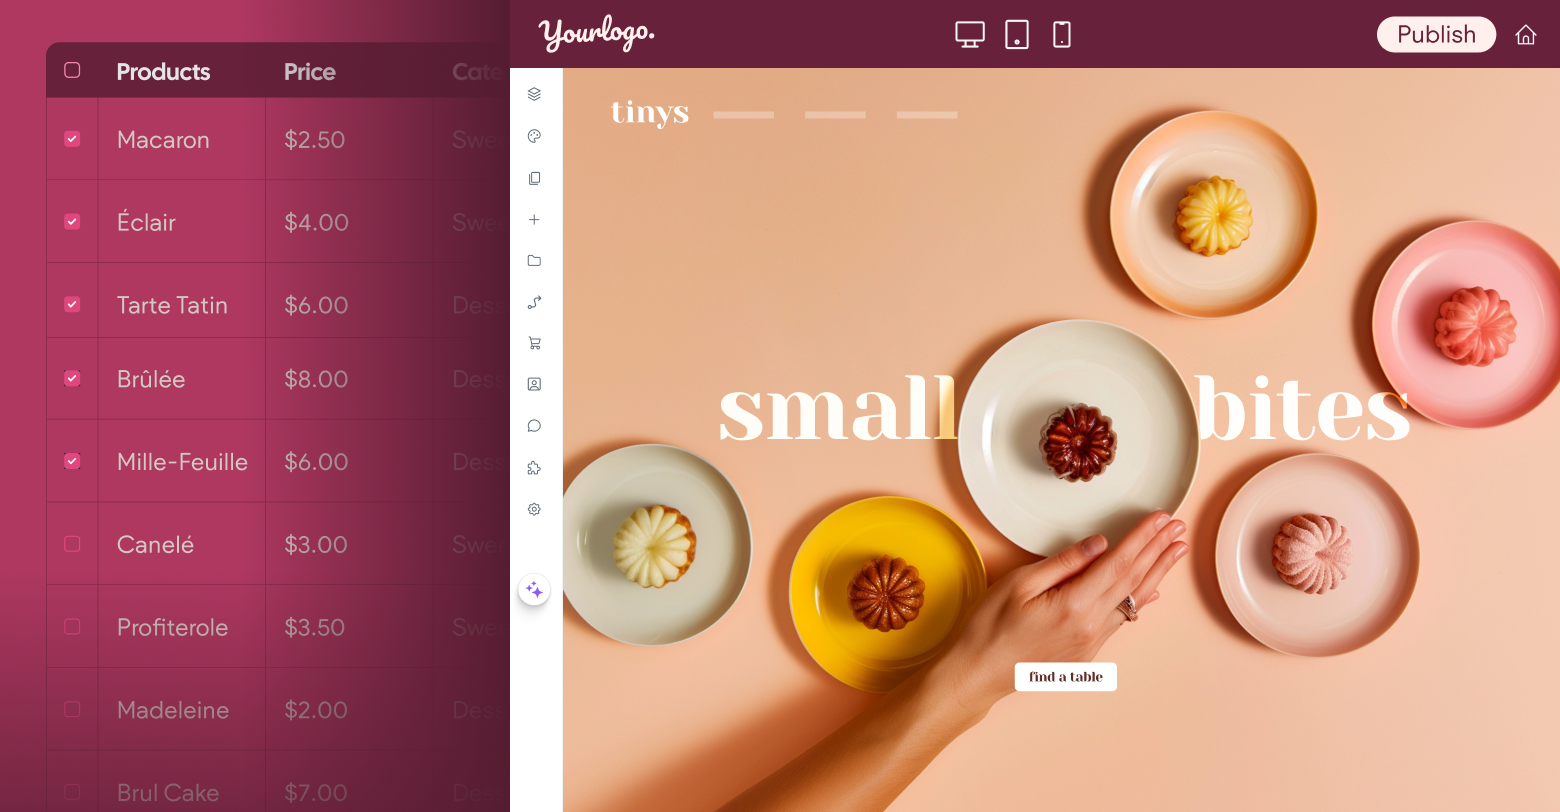
With our branding all configured, we're ready to transfer users from your SaaS application to the Duda site editor. To make this process completely seamless, we need to add a couple more API calls to the process we started in the
first part of this series. In that post, we discussed making a call to create the website, and another to push data from the SaaS platform into the content library of the new site. Once those calls have been successfully completed, we will make additional calls to
create a Duda user account, and then allow that user to
access the site.
"Create User" API call
The create user API call allows you to pass the actual user identifier to Duda, and this means you can use the same user ID you use in your own application as the account_name property in the API payload. By matching the IDs, it simplifies future API calls that require user identification, such as our SSO endpoint or granting a user access to a site. Additionally, you should specify an account_type of CUSTOMER in the request body, to distinguish this user from your staff accounts. The body can also contain user metadata such as name and email address.
Note: API
calls require an API username and password to
authenticate.
Because you are choosing the user identifier in the call, we will not return it after success. Instead, you will receive a 204 status code with no data in the response body. It's also important to point out that you don't specify or receive any type of password for these users. As we'll see later in this post, we expect any users created via API to authenticate directly from your application through our SSO endpoint instead of navigating to a login page.
"Grant Site Access" API call
At this point in the process, we have successfully created a user in Duda, but they have yet to receive permission to edit a site. The
grant site access call will rectify that. With this call, we can specify not only a site to which this user should be given access, but also a list of permissions for that site. Using these permissions, we can provide an extremely simple editing experience, or one that is more complicated but immensely flexible for the user.
In this example, we are giving the user access to a specific website by using both the user ID we chose in the previous step, and the
site_name we received from our create website API call. By passing in permissions for
LIMITED_EDITING,
PUBLISH and
REPUBLISH, the user will be presented with a very simple editor that only allows them to change existing content. They will not be able to add or delete widgets and content, or add or remove additional pages. A full listing of permissions can be retrieved from the
list client permissions API endpoint. Using permissions, it's possible to give different users varying degrees of access to the same site.
Sending users to the editor
With these additional API calls, we have all the pieces we need to allow a user to edit their site. The last step is utilizing the
SSO API endpoint to move the user from your SaaS application to the white-labeled editor.
Within your application's UI, we'll need some sort of "Edit Website" button that appears after a site has been created for the logged in user or organization. This button, when clicked, will issue the call to the SSO endpoint, utilizing the same user identifier you chose in the create user step. The API response will include an editor URL to which you can immediately redirect the browser.
It's important this call is made at the time of intent — you don't want to make the call to the SSO endpoint on application load and cache the return URL for a long period. The URLs are only valid for a maximum of two minutes for security reasons. It's best to make the call when the user has actually interacted with the button.
In addition to the site name and user ID. You will need to supply a target query parameter. This allows you to deep-link into the Duda application to areas such as the template picker, stats page, or dashboard. In the case of SaaS integrations, you almost always want to send the user directly to the site editor, so we provide a value of
EDITOR.
Below is an example response:
Summing up
So far in this series,
we've seen how to programmatically create websites and populate them with content from a SaaS platform. We've also learned how to create users with access to these newly created sites. With Duda's white labeling capabilities, these users will see a fully branded experience, completely unaware they've ever left the source application.
In the
final post of this series, we'll talk about the integration of more complex data structures, and automatically generating or removing entire pages of content from a site when a user changes data in your platform. Until then, try creating a few client users either by API or within the Duda application. Change their permission settings to narrow in on the type of experience that would work best for your users.