For the vast majority of your small business clients, Duda has all of the widgets you need right out of the box. But what about your spendier, more particular clients? There are those out there who want a more bespoke experience for their website, and they’re willing to pay for it.
That’s where the HTML widget and the
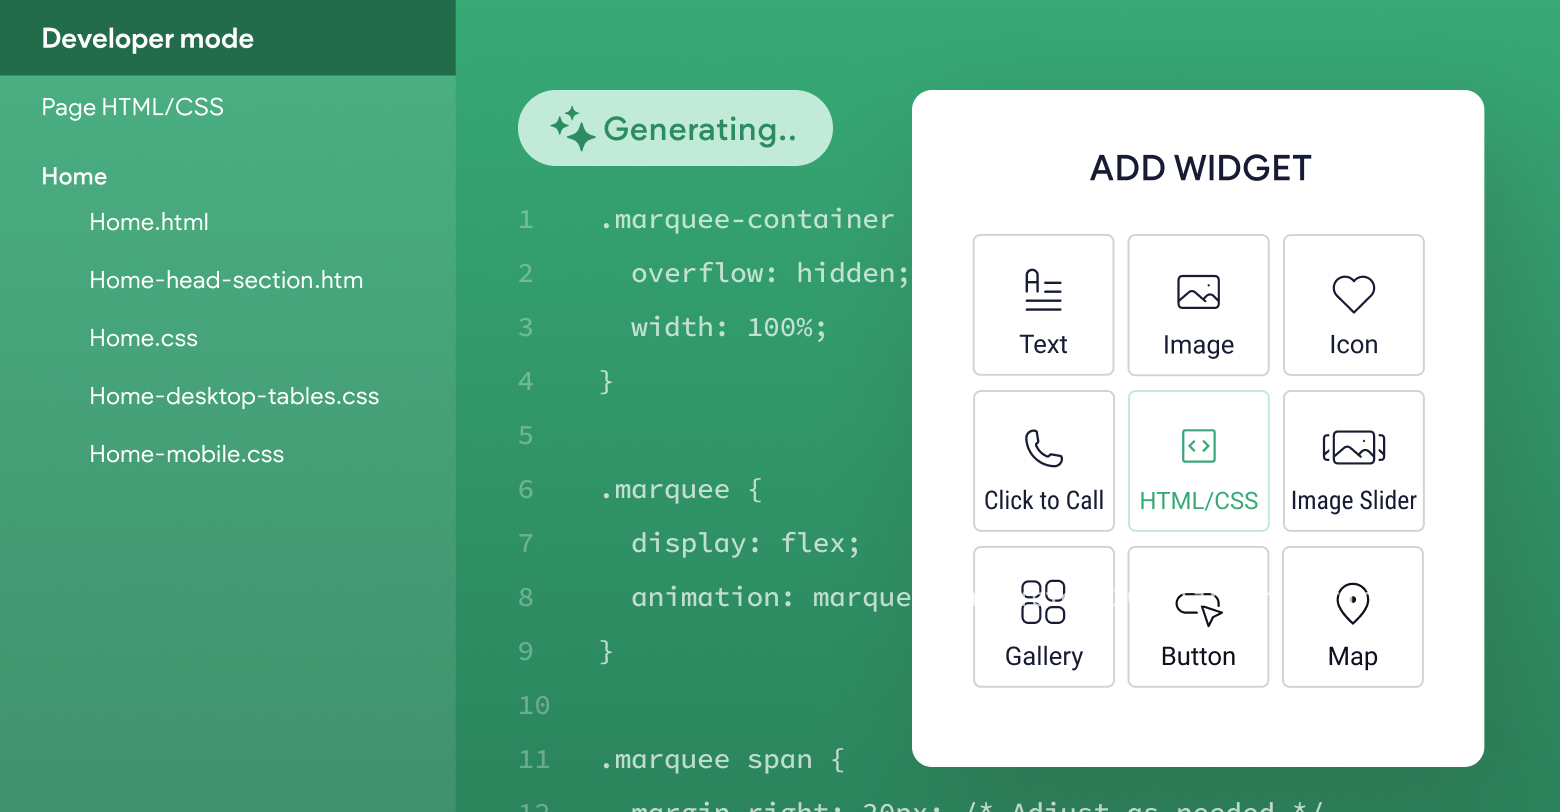
Widget Builder come into play. These tools give your agency the power to create entirely custom elements using regular HTML, CSS, and JavaScript. Many agencies already, especially
Duda Experts, have already created fantastic widgets that push the limits of the Duda platform.
While some people might look at these powerful features with excitement, others undoubtedly view them with dread. Not everyone can be a developer, right? Well, that might not be the case anymore…
AI tools make coding more accessible
We’ve written before about how agencies can use artificial intelligence
to increase their productivity, but something we haven’t quite touched on is how they can use it to expand their capabilities—particularly at the technical level.
AI tools like Gemini and ChatGPT make writing code, especially in wildly popular languages like HTML, much more accessible. Take
this webinar we hosted in 2023 on using python for SEO as an example. In it, speaker Olesia Korobka uses ChatGPT to create quality python code in no-time.
You shouldn’t be surprised to hear that this process can be applied to widgets just as well. We’ll take this concept for a spin by using ChatGPT to create a simple, marquee style text scroller, like something you might see on the news, using the HTML widget. Then, we’ll transform it into something we can use over-and-over again on multiple client sites with the Widget Builder. The finished product will look something like this:
Creating HTML with ChatGPT
We’re going to be using ChatGPT, but feel free to use any AI tool you prefer. Like any good prompt, we first want to define a role for our AI. In this scenario, we want an expert web developer. Then, we describe what we’re looking for: a news-style scrolling text marquee. We’ll make the text “DUDA ROCKS,” separated by bullet points and repeating, for this example. Here’s out prompt:
We can copy and paste this directly into the HTML widget by first pasting the HTML, then selecting “Edit CSS”, then pasting the CSS after the last bracket at the very end. That’s it!
While this looks great, it isn’t super reusable. Thankfully, that’s where the Widget Builder comes in.
Transforming HTML into a widget
While the Widget Builder may seem intimidating, understand that you do not need to be a developer to do what we’re about to do. That’s because the Widget Builder uses a simple form builder and intuitive “handlebars” to make code customizable.
We’ll start with the form builder, specifically the “Content Editor” tab within the Widget Builder. Select “+ Add Input” then, for the input type, choose “text.” This is going to be the text that goes within our marquee widget. For the descriptive label field we can replace “Text” with “Marquee Content” then, for the variable, replace “text1” with “marqueeText.” We should also go ahead and mark this as a required field.
We’re about a third of the way done already. Next, let’s switch over to the “Design Editor” tab and add an input here as well. For this one, we’ll select “Text Style” as the input type. Next, let’s type “.marquee-container” into the custom selector field. You should recognize this from the code that ChatGPT created. We can add another input, this time “Background,” and give it the same “.marquee-container” custom selector.
The Widget Builder does some magic here with the Design Editor. It’ll lock onto the design of any element labeled with the class “marquee-container” and will automatically apply font and background style to that element.
That leaves one more step—the code. Under the “Widget Code” section, select HTML. We’re going to paste our HTML into the editor here with one small modification—we’re going to replace “DUDA ROCKS” with “{{marqueeText}}” like so:
These are the handlebars we discussed. They’ll be automatically replaced with whatever text is submitted into the Content Editor before our widget is ever rendered.
Finally, we’ll just paste our CSS as-is into the css/scss section.
That’s it, our widget is ready to publish. Now we can customize the content, background color, an design, like so: